
Search the Community
Showing results for tags 'thor patcher'.
Found 5 results
-
Read it carefully. NOTE: There is 2 way of making Thor Patch Files. First is Patch on GRF and 2nd is Patch on Client Folder. Lets do the GRF Patch First. GRF PATCH: Step 1: Make a Folder and name it data GRF Patch. Inside this folder have data folder that can put your grf resources. Step 2: Open your ThorGenerator.exe and Target the Folder data GRF Patch/data Step 3: Click the Acsii Option and save your out Output like the image bellow. the output is the Thor File generated. Step 4: Click The Generate Button after the Step 3. Step 5: After the first-patch.thor are generated. Go to your webhost files look for web_patcher or patcher folder. upload the first-patch.thor in the data Folder. Step 6: Find the plist.txt in your patcher folder and list like bellow. 1 first-patch.thor The number 1 in the starting is number of process of your patch it can be 1 and 2 and so far.
-

Version 1.0.0
13 downloads
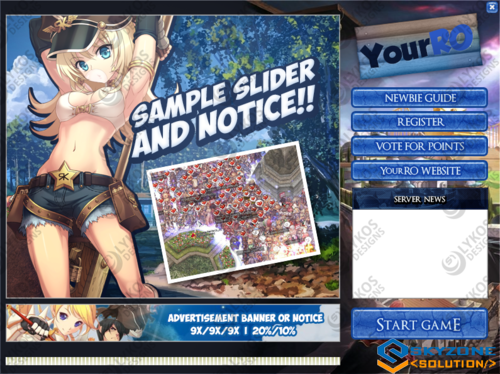
[pRO Style] s1 - Free Thor Patcher v3 3.0 this patcher made by S1 Lycos long time ago. we release here for easy to manage and we already update the thor patcher that used on this Thor Patcher Themes. -
Version 1.0.0
14 downloads
Thor Patcher For Free. Thank your for trusting skyzone. if you need the PSD: just add 5$ for the PSD -
Version 1.0.0
37 downloads
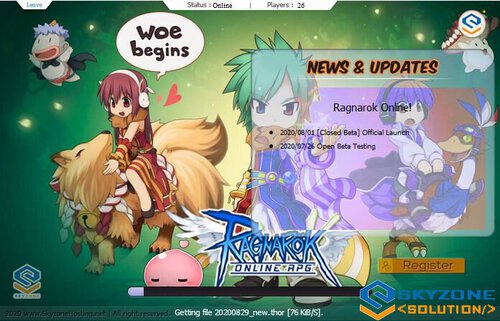
this Patcher is include Web Source. Download for your own risk change the domain on config.ini and generate ConfigGenerator then paste the patcher Folder on your website. NOTE: - do not put https:// on your domain in config.ini. SSL is not supported of thor patcher. - This Patcher is not our work we only update the files in latest thor patcher. this file is credit to the respective owner. -
Version 1.0.0
13 downloads
this Patcher is include Web Source. Download for your own risk change the domain on config.ini and generate ConfigGenerator then paste the patcher Folder on your website. NOTE: - do not put https:// on your domain in config.ini. SSL is not supported of thor patcher. - This Patcher is not our work we only update the files in latest thor patcher. this file is credit to the respective owner Gantz Design.